Table of Contents
** Minutes
3 steps to creating a return label
2 ways ecommerce businesses can provide return labels
4 reasons why some businesses include return labels in packages
A customer gets a product delivered to their door and realizes it’s not quite what they ordered. Maybe it’s the wrong color, the wrong size, or the product got damaged during transport. They need to return the order.
Mistakes happen, and returns are inevitable. As an ecommerce business owner, you have to roll with the punches and do everything you can to offer top-notch customer service. When it comes to creating an efficient ecommerce returns process, it starts with the return label.
Why is this stick piece of paper so important? Read on to learn best practices on how to generate return labels.
What is a return label?
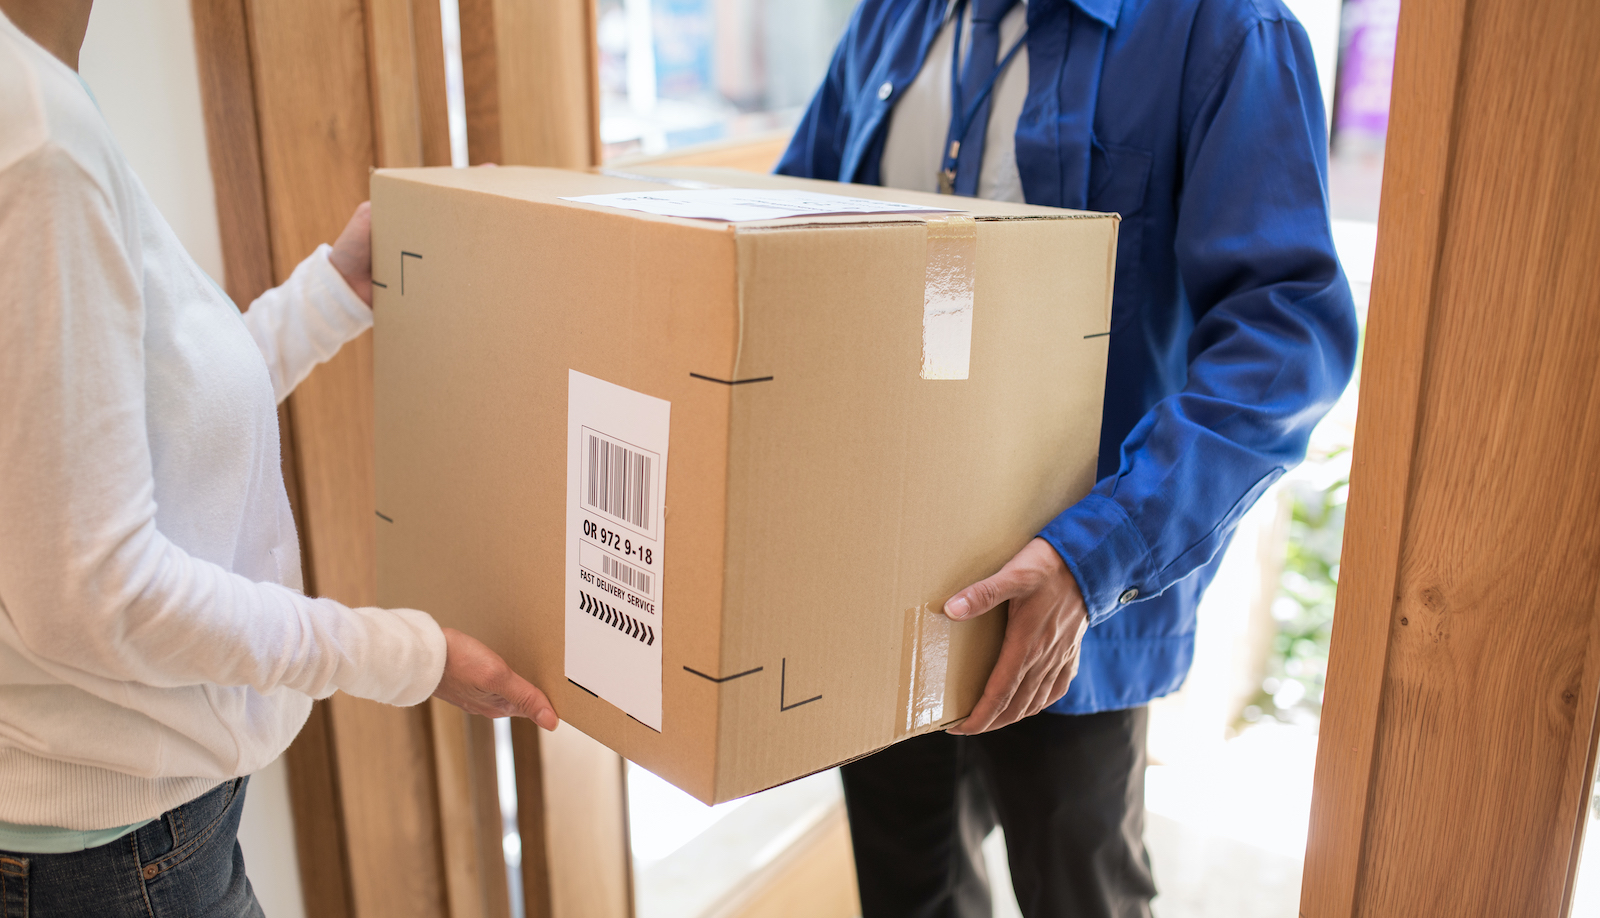
A return label is a sticker adhered to a box or mailer that includes an address, shipping barcode, and other information that a shipping carrier uses to identify the destination and track the package, so it gets returned to the seller or appropriate warehouse.
3 steps to creating a return label
Return labels are typically created with shipping software at the USPS post office, an office supply store, or at home. Whatever software you decide to use, there are three basic steps to generating a return label on your own:
Step 1: Choose a shipping carrier and mail class
When creating your own return label, you’ll select which shipping carrier you want to go through and which mail class the package falls under.
Step 2: Enter the address
Provide your business’s return address. This should be the location that is open to receive returned items, such as your warehouse.
Step 3: Pay for postage
Pay to cover the cost of turning the item. That way, your customer won’t have to pay for anything out of pocket.
2 ways ecommerce businesses can provide return labels
If you plan to offer return labels to your ecommerce customers in the event they want to return an item, you can either include the label in the original package, or you can let customers print their own label at home.
Including the label in the shipped package
You can include a return label (different from a packing slip) with all shipped packages that go out. This simplifies the return process as customers have everything they need to return the item, just in case.
Letting customers print their own label
The other option is to email customers a return label if they notify you that they’d like to return a product. They can download the label, print it off, and attach it to the package. This takes more time and is less convenient for the customer.
4 reasons why some businesses include return labels in packages
Out of the two most common ways to provide a return label, the most convenient option for your customers is for you to include a return label in all of your outbound packages if you see a really high return rate (note: ShipBob does not do this but some big-box retailers and fast fashion companies do this by default). Here are some reasons why some ecommerce businesses choose this approach, which can also increase your return rate and costs.
1. Saves your customers time and effort
Instead of having to request a return label, wait for you to email it to them, print it off, attach it to their package, and then mail the product in, customers will already have a ready-made label to attach if they decide to send in a return.
2. You can select the lowest cost mail option
By supplying a return label yourself, you can ensure that the lowest cost mail option is used versus having to reimburse customers for shipping fees.
3. Ensures the package is returned properly
How unfortunate would it be to have to refund a customer AND then realize the return package got lost/went to the wrong address?
If customers handle returns themselves, they may improperly address the package or provide improper postage. Including your own labels in the package ensures that the package is returned to the right place.
4. Return labels cost nothing unless they’re used
Besides wasting paper, including return labels in your packages costs nothing if your customers never use them.
Of course, this approach increases the likelihood and ease of returns, making your customers more likely to return items after buying them.
How ShipBob makes processing returns easy
Creating and printing your own return labels can be tedious, especially if you don’t have the right software. And, if you are generating labels for a high quantity of items, you’ll need a solution you can scale.
Fortunately, third-party logistics providers (or 3PL companies) like ShipBob offer direct-to-consumer ecommerce fulfillment services that make it easy to generate labels, view orders, and track returns all in one place.
This significantly cuts down on your costs and processing times and keeps your customers happy by making the process easier for them. Here’s how it works:
1. Generate a return label from your ShipBob dashboard with a single click
With ShipBob, you have the option to generate and print a return label through our dashboard. Simply search and select the item(s) you want to return.
2. View orders being sent back from the “Return” tab in your dashboard
You can track returns using the Returns page in your ShipBob dashboard. Filter where your packages are at in the return process (Awaiting, Arrived, Processing, Completed, Canceled). This includes not only returns but delivery exceptions (e.g., packages that couldn’t be delivered).
3. Include specific instructions for the ShipBob’s team
The product was returned – now what?Once the product is received at a fulfillment center and processed, the item will be restocked by default. But you also have the option to set return preferences for certain items: restock, dispose, or quarantine the options. Once you choose your option, ShipBob’s order fulfillment team will know what to do with the product once it’s returned.
Save time and money with ecommerce return labels
While you could create your own return labels or email labels to customers who want to return items, these options are tedious and time-consuming.
If you’re interested in learning more about how ShipBob can help streamline the retail fulfillment and inventory management process for your online store, click below to get started.
Yes, many companies offer return label printing from home. However, most of the time, this requires software that people might not have. With ShipBob, you can create and print a return label through our dashboard.
The return address should be your place of business, as long as it is able to receive mail.
You can print a return label through ShipBob’s dashboard by searching and selecting the item(s) you want to return and print the return label that is generated.
The label only costs the amount of ink and paper it is printed on. However, you’ll need to cover the cost of shipping, which will vary, so that your customers don’t have to pay for their return.


